
How to Fix a Delta Kitchen Faucet: A Step-by-Step Repair Guide
Is your Delta kitchen faucet dripping, leaking, or suffering from low water pressure? Don’t rush to call a plumber just yet! Many common Delta faucet problems can be easily diagnosed and fixed with a few simple tools and a little know-how. This comprehensive guide will walk you through the most common issues, providing step-by-step instructions, expert tips, and valuable insights to help you successfully fix your Delta kitchen faucet and restore it to perfect working order. We’ll cover everything from identifying the specific problem to replacing worn-out parts, ensuring a smooth and successful repair process.
Understanding the Anatomy of Your Delta Kitchen Faucet
Before diving into repairs, it’s crucial to understand the different components that make up your Delta kitchen faucet. Familiarizing yourself with these parts will not only make troubleshooting easier but also help you identify the specific components that need attention. The most common parts include the handle, spout, aerator, cartridge, O-rings, and supply lines. Each component plays a vital role in the faucet’s overall function, and understanding their purpose is essential for effective troubleshooting and repair.
Essential Faucet Components Explained
- Handle: Controls the water flow and temperature.
- Spout: Delivers water into the sink.
- Aerator: Screws onto the spout and mixes air with water to create a smooth, splash-free flow.
- Cartridge: The heart of the faucet, controlling water mixing and flow.
- O-rings: Small rubber seals that prevent leaks.
- Supply Lines: Connect the faucet to the hot and cold water supply.
Diagnosing Common Delta Kitchen Faucet Problems
Identifying the root cause of your faucet problem is the first and most important step in the repair process. Common issues include drips, leaks, low water pressure, stiff handles, and noisy operation. Each of these problems can stem from various underlying causes, ranging from worn-out parts to mineral buildup. Carefully observing the symptoms and pinpointing the source of the issue will guide you toward the appropriate repair solution.
Troubleshooting Guide: Common Faucet Issues
- Dripping Faucet: Often caused by a worn-out cartridge or O-rings.
- Leaking Faucet: May be due to loose connections, damaged O-rings, or a faulty cartridge.
- Low Water Pressure: Could be caused by a clogged aerator, blocked supply lines, or a faulty cartridge.
- Stiff Handle: Often results from mineral buildup or a worn-out cartridge.
- Noisy Faucet: May indicate high water pressure, loose parts, or debris in the water lines.
Tools and Materials You’ll Need for Delta Faucet Repair
Before you begin any repairs, gather the necessary tools and materials. Having everything on hand will streamline the process and prevent unnecessary delays. A basic toolkit should include a screwdriver set (both Phillips and flathead), an adjustable wrench, pliers, a basin wrench, a set of Allen wrenches, and a utility knife. You’ll also need replacement parts, such as a new cartridge, O-rings, or aerator, depending on the specific problem you’re addressing. It’s always a good idea to have a small container to hold small parts so they don’t get lost.
Essential Tools for Faucet Repair
- Screwdriver set (Phillips and flathead)
- Adjustable wrench
- Pliers
- Basin wrench
- Allen wrench set
- Utility knife
- Replacement parts (cartridge, O-rings, aerator)
Step-by-Step Guide to Fixing a Dripping Delta Kitchen Faucet
A dripping faucet is one of the most common kitchen faucet problems. Not only is it annoying, but it can also waste a significant amount of water over time. The most likely cause of a dripping Delta faucet is a worn-out cartridge. Replacing the cartridge is a relatively simple process that can be completed in a few steps.
Replacing a Delta Faucet Cartridge: A Detailed Walkthrough
- Turn off the water supply: Locate the shut-off valves under the sink and turn them clockwise to stop the water flow.
- Remove the handle: Depending on the model, you may need to loosen a setscrew with an Allen wrench or unscrew the handle directly.
- Remove the cartridge retaining clip: Use pliers to carefully remove the clip that holds the cartridge in place.
- Pull out the old cartridge: Grasp the cartridge firmly and pull it straight out. You may need to wiggle it gently to loosen it.
- Install the new cartridge: Align the new cartridge with the faucet body and push it firmly into place.
- Reinstall the retaining clip: Secure the new cartridge by reinserting the retaining clip.
- Reattach the handle: Reinstall the handle and tighten the setscrew or screw.
- Turn on the water supply: Slowly turn the shut-off valves counterclockwise to restore water flow.
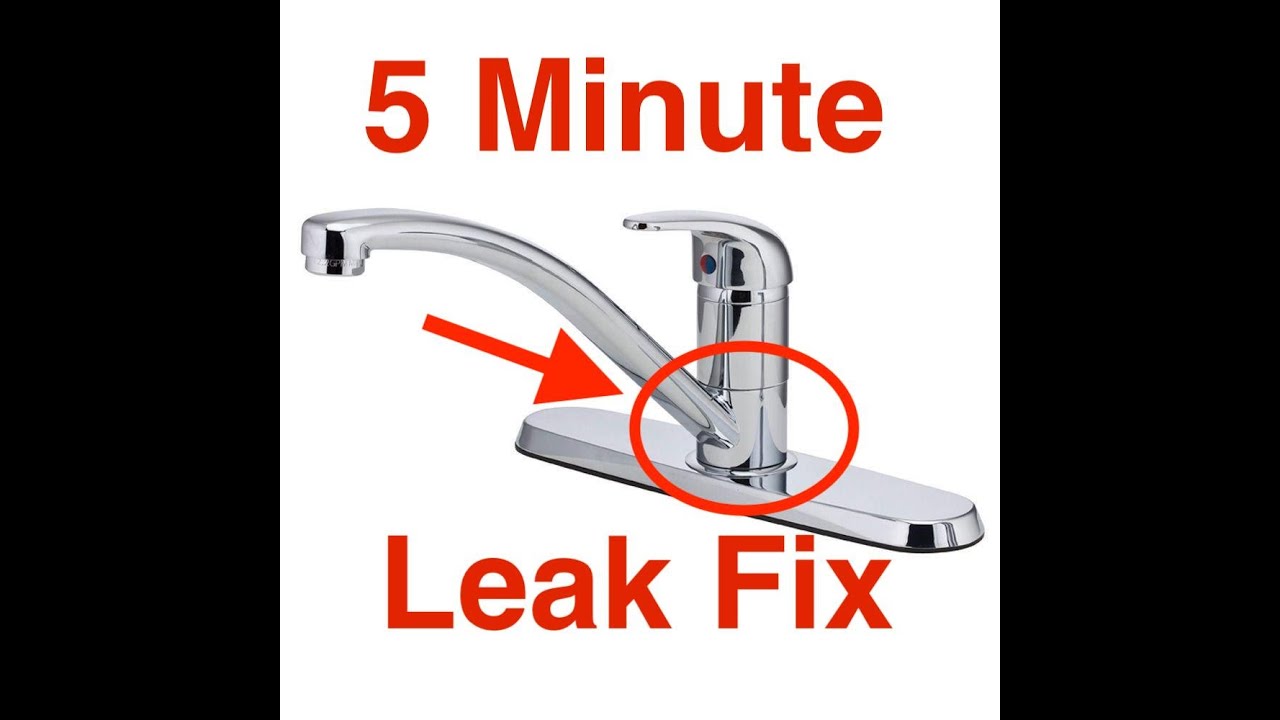
Addressing Leaks Around the Base of Your Delta Faucet
Leaks around the base of the faucet are another common issue. These leaks are often caused by worn-out O-rings or loose connections. Replacing the O-rings is a straightforward process that can effectively stop these leaks.
Replacing O-Rings to Stop Base Leaks
- Turn off the water supply: As before, shut off the water supply to the faucet.
- Disconnect the supply lines: Use a basin wrench to disconnect the supply lines from the faucet.
- Remove the faucet: Loosen the mounting nuts underneath the sink and carefully lift the faucet out.
- Replace the O-rings: Locate the O-rings on the base of the faucet and replace them with new ones.
- Reinstall the faucet: Place the faucet back into the sink and tighten the mounting nuts.
- Reconnect the supply lines: Reattach the supply lines to the faucet.
- Turn on the water supply: Restore water flow and check for leaks.
Boosting Low Water Pressure in Your Delta Kitchen Faucet
Low water pressure can be frustrating, making it difficult to wash dishes or fill pots quickly. The most common cause of low water pressure in a Delta kitchen faucet is a clogged aerator. Cleaning or replacing the aerator can often resolve this issue.
Cleaning or Replacing a Clogged Aerator
- Remove the aerator: Unscrew the aerator from the spout. You may need to use pliers, but be careful not to damage it.
- Clean the aerator: Rinse the aerator under running water to remove any debris. You can also use a small brush to scrub away stubborn deposits.
- Soak in vinegar (optional): If the aerator is heavily clogged, soak it in white vinegar for a few hours to dissolve mineral buildup.
- Reinstall the aerator: Screw the aerator back onto the spout.
- Check the water pressure: Turn on the faucet and check if the water pressure has improved.
- Replace the aerator (if needed): If cleaning doesn’t resolve the issue, replace the aerator with a new one.
Maintaining Your Delta Kitchen Faucet for Longevity
Regular maintenance can significantly extend the lifespan of your Delta kitchen faucet and prevent many common problems. Simple tasks like cleaning the aerator, tightening loose connections, and lubricating moving parts can go a long way in keeping your faucet in top condition.
Essential Maintenance Tips for Delta Faucets
- Clean the aerator regularly: Remove and clean the aerator every few months to prevent mineral buildup.
- Tighten loose connections: Periodically check the supply lines and mounting nuts to ensure they are securely tightened.
- Lubricate moving parts: Apply a silicone-based lubricant to the faucet handle and spout to keep them moving smoothly.
- Avoid harsh chemicals: Use mild soap and water to clean the faucet finish. Avoid abrasive cleaners that can damage the surface.
Understanding Delta Faucet Cartridge Types and Compatibility
Delta faucets utilize various cartridge types, each designed for specific models and functions. Understanding the different types and ensuring compatibility is crucial when replacing a cartridge. Common cartridge types include ball-type, ceramic disc, and compression cartridges. Consulting your faucet’s documentation or contacting Delta customer service can help you identify the correct cartridge for your model.
Exploring Delta Faucet Technologies
Delta Faucet Company has long been recognized as a leader in kitchen and bath innovation. Their DIAMOND Seal Technology is found in many of their kitchen faucets. It reduces leak points and lasts up to twice as long as the industry standard. Another innovation is their Touch2O Technology, which allows you to turn the faucet on and off with just a touch, helping to keep your faucet clean when your hands are not.
The Advantages of Choosing Genuine Delta Replacement Parts
When repairing your Delta kitchen faucet, it’s always recommended to use genuine Delta replacement parts. While aftermarket parts may be cheaper, they often lack the same quality and precision as genuine parts. Using genuine parts ensures a proper fit, optimal performance, and long-lasting durability.
Why Genuine Parts Matter
- Proper Fit: Genuine parts are designed specifically for your Delta faucet model, ensuring a perfect fit.
- Optimal Performance: Genuine parts are manufactured to the highest standards, guaranteeing optimal performance and reliability.
- Long-Lasting Durability: Genuine parts are made from durable materials that can withstand the rigors of daily use.
Delta Faucet Warranty: What You Need to Know
Delta Faucet Company offers a limited lifetime warranty on its faucets, providing peace of mind and protection against defects in materials and workmanship. Understanding the terms and conditions of the warranty is essential for maximizing its benefits. Be sure to keep your purchase receipt and register your faucet online to ensure proper warranty coverage.
Understanding Your Warranty Coverage
- Limited Lifetime Warranty: Covers defects in materials and workmanship for as long as you own the faucet.
- Proof of Purchase Required: You’ll need your purchase receipt to make a warranty claim.
- Register Your Faucet: Registering your faucet online ensures proper warranty coverage and simplifies the claims process.
Expert Insights on Extending the Life of Your Faucet
Beyond regular maintenance, there are several steps you can take to extend the life of your Delta kitchen faucet. Avoiding excessive force when operating the handle, using a water softener to reduce mineral buildup, and promptly addressing any leaks or drips can all contribute to a longer lifespan.
Tips for Prolonging Faucet Life
- Avoid Excessive Force: Be gentle when operating the handle to prevent wear and tear.
- Use a Water Softener: Reduce mineral buildup by installing a water softener.
- Address Leaks Promptly: Fix any leaks or drips as soon as they appear to prevent further damage.
Delta Faucet Repair: A Final Review
Fixing a Delta kitchen faucet doesn’t have to be a daunting task. By understanding the different components, diagnosing the problem accurately, and following the step-by-step instructions outlined in this guide, you can successfully repair your faucet and restore it to perfect working order. Remember to use genuine Delta replacement parts and perform regular maintenance to ensure long-lasting performance. If you’ve tried these steps and are still facing issues, consulting a professional plumber might be the best course of action. Now that you are armed with the knowledge, consider sharing your experiences with fixing your Delta kitchen faucet in the comments below. Or, explore our advanced guide to faucet maintenance for more information.
