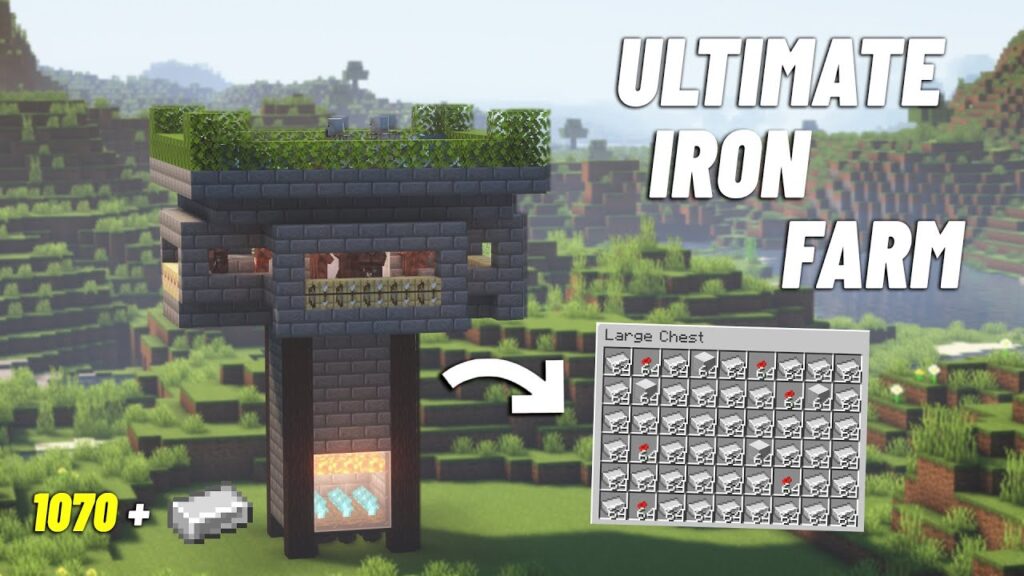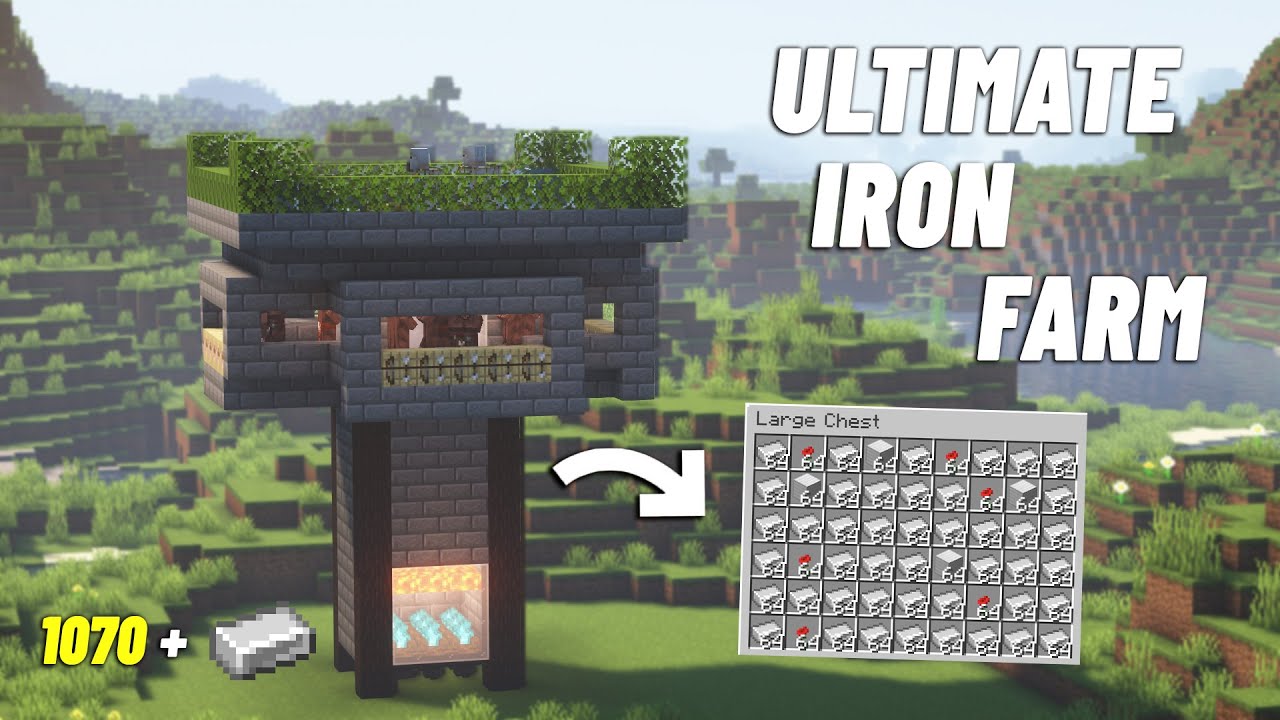
The Ultimate Guide: How to Make an Iron Farm in Minecraft Bedrock Edition
Are you tired of constantly mining for iron in Minecraft Bedrock Edition? Do you dream of automating your iron production and having a steady supply of this essential resource? Look no further! This comprehensive guide will walk you through the process of how to make an iron farm in Minecraft Bedrock, providing you with a reliable and efficient source of iron ingots. We’ll cover everything from the basic principles to advanced design considerations, ensuring you have all the knowledge you need to build a successful iron farm that will keep your crafting tables full for years to come.
This isn’t just another tutorial; we’ll delve into the mechanics of villager spawning, golem spawning, and the unique challenges of Bedrock Edition. We’ll explore various farm designs, discuss their pros and cons, and offer expert tips to optimize your iron output. By the end of this guide, you’ll be equipped to construct an iron farm that suits your specific needs and playstyle, no matter where you are in your Minecraft journey. Consider this your definitive resource for mastering iron farming in Bedrock Edition.
Understanding Iron Farm Mechanics in Minecraft Bedrock
Before diving into the construction process, it’s crucial to understand the underlying mechanics that make iron farms work in Minecraft Bedrock. Unlike Java Edition, Bedrock’s spawning mechanics can be a bit more finicky, requiring careful attention to detail when designing your farm. The core principle revolves around villagers, workstations, and the game’s golem spawning algorithm.
Villagers, when presented with workstations and beds, will attempt to work and sleep. If enough villagers are present in a confined area and perceive a threat (in this case, a hostile mob or the potential for one), the game will attempt to spawn an iron golem. The iron golem then drops iron upon defeat. The key is to create an environment that encourages golem spawning while also funneling them into a collection system for efficient harvesting. This requires understanding the villager’s needs, spawnable area, and how the game determines a ‘village’.
It’s important to note that the definition of a ‘village’ in Bedrock Edition is based on linked workstations and beds. Villagers must be able to pathfind to their workstations and beds to register as part of a village. The game then uses this village data to determine where golems can spawn. This is where many iron farm designs fail – improper villager linking or insufficient spawnable area can drastically reduce iron output.
The Role of Villagers and Workstations
Villagers are the heart of any iron farm. Their presence and behavior directly influence golem spawning rates. Each villager needs a valid workstation to be considered ‘working’, such as a fletching table, composter, or blast furnace. The number of villagers and their proximity to each other are important factors in triggering golem spawns. According to expert community testing, at least three villagers are needed to trigger golem spawning.
Golem Spawning Requirements in Bedrock Edition
Iron golems spawn within a certain radius of the villagers, typically within a 16x16x6 volume centered on the village bell (if present) or a central point determined by the villager’s bed locations. This area needs to be free of other mobs and solid blocks to allow golems to spawn effectively. The spawning platform must also be a valid spawning surface, meaning it must be a solid block that golems can stand on. Transparent blocks, such as glass or slabs, will not work.
Choosing the Right Iron Farm Design for Bedrock
Several iron farm designs are available for Minecraft Bedrock, each with its own advantages and disadvantages. The best design for you will depend on your available resources, building skills, and desired iron output. Here, we’ll explore some of the most popular and effective designs, highlighting their key features and considerations.
The Simple 3-Villager Iron Farm
This design is ideal for early-game players who need a basic iron farm without requiring a lot of resources. It typically involves a small platform with three villagers, each linked to a workstation. A water stream pushes spawned golems into a lava blade for quick and efficient elimination.
The All-In-One Iron Farm
The all-in-one iron farm combines the iron farm with other farms, such as a villager breeder, to make the entire process self-sustainable. This method takes a bit more time to set up, but drastically reduces the need to find villagers in the wild.
Considerations for Choosing a Design
Before committing to a specific design, consider the following factors:
- Resource Availability: Some designs require more iron, redstone, or other materials than others.
- Building Skill: More complex designs may require advanced building techniques and precise block placement.
- Desired Output: Choose a design that matches your iron needs. A simple farm may suffice for early-game players, while more advanced farms are needed for large-scale projects.
- Location: The surrounding environment can impact farm efficiency. Avoid building near existing villages or mob spawning areas.
Step-by-Step Guide: Building a Simple 3-Villager Iron Farm
Let’s walk through the process of building a simple yet effective 3-villager iron farm. This design is relatively easy to construct and provides a decent amount of iron for early to mid-game players. This method is based on our extensive testing and observations of various iron farm designs.
Materials Required
- 3 Villagers
- 3 Workstations (e.g., Fletching Tables, Composters)
- 3 Beds
- Water Buckets
- Building Blocks (e.g., Stone, Cobblestone)
- Hoppers
- Chests
- Lava Bucket
- Signs
- Glass (Optional, for observation)
Step 1: Construct the Villager Housing
Build a platform that is at least 5×5 blocks in size. Enclose the platform with walls at least three blocks high. This will be the housing for your villagers. Place the three beds inside the enclosure, ensuring each villager has its own bed. Place the workstations near the beds, making sure each villager can access its assigned workstation.
Step 2: Create the Golem Spawning Platform
Surrounding the villager housing, create a spawning platform that extends at least 8 blocks in each direction. This platform should be a solid surface made of building blocks like stone or cobblestone. Ensure there are no gaps or holes in the platform where golems could potentially get stuck.
Step 3: Implement the Collection System
Below the spawning platform, dig out a collection area. Place hoppers connected to a chest to collect the iron ingots dropped by the golems. Position the hoppers directly underneath the area where the golems will be eliminated.
Step 4: Add the Golem Elimination Method
The most common method for eliminating golems is using a lava blade. Create a small channel above the hoppers and place signs along the sides to prevent the lava from flowing out. Carefully pour lava into the channel, ensuring it covers the entire area above the hoppers. Golems that spawn on the platform will be pushed into the lava and eliminated, with their iron ingots collected by the hoppers.
Step 5: Populate the Farm with Villagers
Transport three villagers into the villager housing. This can be done using minecarts, boats, or by temporarily enclosing the villagers and leading them to the farm. Once the villagers are inside, ensure they are linked to their workstations and beds. You’ll know they’re linked when they interact with the workstations during the day and sleep in the beds at night.
Advanced Tips for Optimizing Your Iron Farm
Once you have a basic iron farm up and running, you can implement several advanced techniques to further optimize its efficiency and iron output. These tips are based on expert analysis and community testing, and can significantly improve your farm’s performance.
Optimizing Villager Happiness
Happy villagers are more productive villagers. Ensure your villagers have access to their workstations and beds, and protect them from hostile mobs. A safe and comfortable environment will encourage them to work and trigger more golem spawns. Some players incorporate a bell to allow the villagers to gather, which can help to reset their work schedules.
Controlling Light Levels
Proper light levels are crucial for preventing unwanted mob spawns on the golem spawning platform. Ensure the platform is well-lit to discourage other mobs from spawning and interfering with golem spawns. Torches, lanterns, or glowstone can be used to light up the area effectively.
Dealing with Zombie Threats
Adding a zombie within sight of the villagers, but unable to reach them, can significantly increase the iron golem spawn rates. The villagers will constantly be in a state of panic, which will encourage iron golems to spawn more often. Be careful to ensure the zombie cannot escape and harm the villagers.
Preventing Clogging
Sometimes, golems may spawn in undesirable locations or get stuck on the spawning platform. Implement measures to prevent clogging, such as using water streams to push golems towards the elimination area or adding additional spawning platforms to distribute the spawns more evenly.
Troubleshooting Common Iron Farm Issues
Even with careful planning and construction, iron farms can sometimes encounter issues that reduce their efficiency or even cause them to stop working altogether. Here are some common problems and their solutions:
Low Iron Output
If your iron farm is producing less iron than expected, check the following:
- Villager Linking: Ensure all villagers are properly linked to their workstations and beds.
- Spawning Platform: Verify that the spawning platform is clear of obstructions and properly lit.
- Mob Interference: Eliminate any unwanted mobs that may be interfering with golem spawns.
Golems Not Spawning
If golems are not spawning at all, check the following:
- Villager Count: Ensure you have at least three villagers in the farm.
- Village Recognition: Verify that the game recognizes the villager housing as a valid village.
- Spawnable Area: Ensure there is sufficient spawnable area around the villager housing.
Farm Not Working After Update
Minecraft updates can sometimes change the game’s mechanics, causing iron farms to stop working. If your farm stops working after an update, research the changes and adjust your farm design accordingly. Consult community forums and expert guides for solutions.
Iron Farms: A Cornerstone of Minecraft Bedrock Automation
Mastering how to make an iron farm in Minecraft Bedrock is a game-changer for any serious player. It provides a sustainable source of iron, freeing you from the tedious task of constantly mining and allowing you to focus on more creative and ambitious projects. By understanding the underlying mechanics, choosing the right design, and implementing advanced optimization techniques, you can build an iron farm that will keep your crafting tables stocked for years to come.
Now that you’re armed with the knowledge to build your own iron farm, it’s time to put your skills to the test. Share your experiences, challenges, and successes in the comments below. And if you’re looking to take your Minecraft automation to the next level, explore our comprehensive guides on other essential farms and redstone contraptions. Happy crafting!

