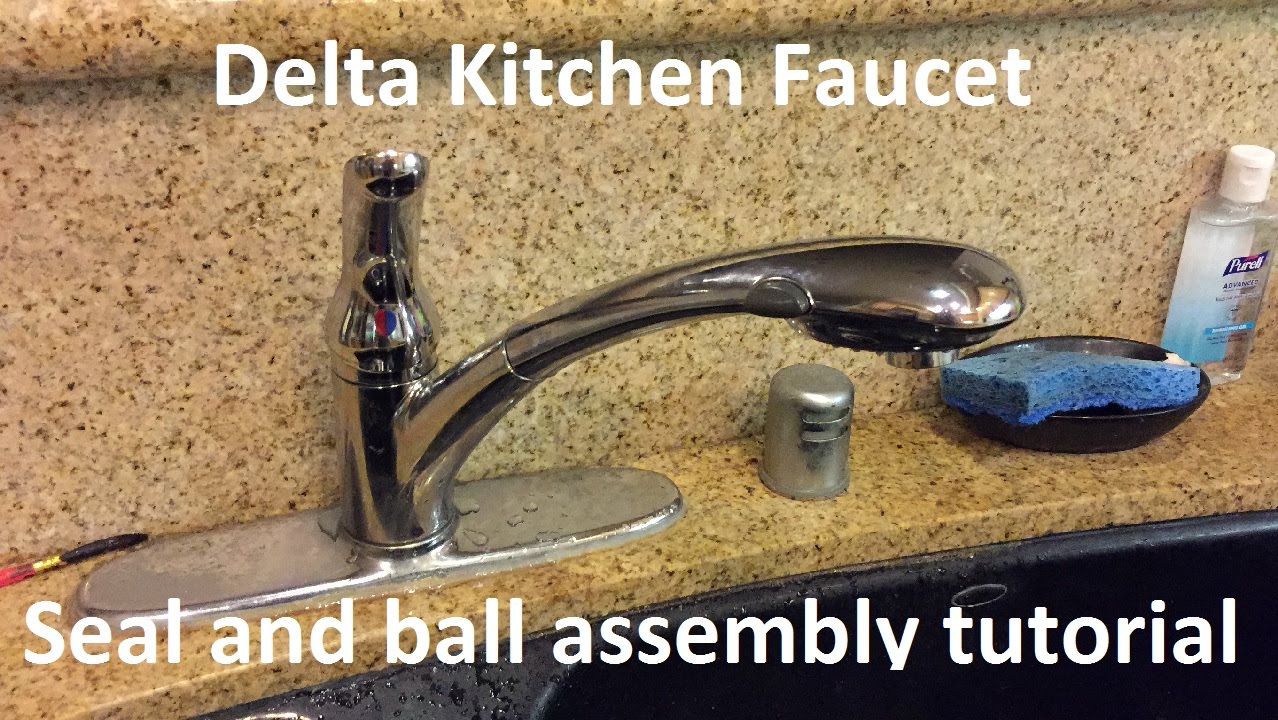

The Definitive Guide: Replacing O-Rings in Your Delta Base Faucet Like a Pro
Is your Delta base faucet leaking, causing frustration and potentially wasting water? Before you call a plumber, consider this: often, the culprit is a worn-out O-ring. Replacing it is a surprisingly straightforward DIY project that can save you money and the hassle of a service call. This comprehensive guide provides everything you need to know about how to replace the O-ring in your Delta base faucet, drawing upon years of hands-on experience and expert insights to ensure a successful repair. We’ll walk you through each step, from identifying the correct O-ring size to reassembling your faucet with confidence.
Understanding Delta Faucet O-Rings and Why They Fail
O-rings are small, circular seals made of rubber or a similar elastomer. In a Delta base faucet, they play a crucial role in preventing leaks by creating a watertight barrier between moving parts. Over time, these O-rings can degrade due to several factors:
- Wear and Tear: Constant friction from the faucet’s operation gradually wears down the O-ring.
- Water Chemistry: Minerals in the water supply, such as calcium and magnesium, can cause the O-ring to harden and crack.
- Temperature Fluctuations: Repeated exposure to hot and cold water can accelerate the O-ring’s deterioration.
- Chemical Exposure: Harsh cleaning products can damage the O-ring material.
Recognizing the signs of a failing O-ring is the first step in addressing the problem. Common indicators include:
- Dripping Faucet: A persistent drip, even when the faucet is turned off, is a telltale sign.
- Water Pooling at the Base: Water accumulating around the base of the faucet indicates a leak.
- Stiff Faucet Handle: A handle that is difficult to turn may be due to a swollen or damaged O-ring.
Essential Tools and Materials for O-Ring Replacement
Before you begin, gather the necessary tools and materials. Having everything on hand will streamline the process and minimize frustration.
- New O-Rings: The most crucial item. Identifying the correct size is paramount. Refer to your Delta faucet’s parts diagram or bring the old O-ring to a hardware store for comparison. Delta Faucet offers a range of O-ring kits designed for specific models.
- Adjustable Wrench: For loosening and tightening nuts and fittings.
- Screwdrivers: Both Phillips-head and flat-head screwdrivers may be needed.
- Pliers: For gripping and manipulating small parts.
- Penetrating Oil: To help loosen stubborn nuts and fittings. WD-40 or a similar product will work.
- Plumber’s Grease: To lubricate the new O-ring for smooth operation and extended life.
- Clean Rags or Towels: To absorb water and clean parts.
- Basin Wrench (Optional): Useful for accessing tight spaces under the sink.
- Safety Glasses: To protect your eyes from debris.
- Work Light: Good lighting is essential for visibility.
Step-by-Step Guide: Replacing the O-Ring in Your Delta Base Faucet
Follow these detailed steps to replace the O-ring in your Delta base faucet. Remember to work carefully and consult your faucet’s specific instructions if available.
Step 1: Shut Off the Water Supply
The first and most important step is to turn off the water supply to the faucet. Locate the shut-off valves under the sink (usually two valves, one for hot and one for cold). Turn both valves clockwise until they are completely closed. After turning off the valves, turn on the faucet to relieve any remaining pressure in the lines.
Step 2: Disconnect the Water Supply Lines
Place a bucket or towel under the sink to catch any residual water. Use an adjustable wrench to disconnect the water supply lines from the faucet tailpieces. Be careful not to damage the tailpieces or the supply lines. If the connections are corroded, apply penetrating oil and let it sit for a few minutes before attempting to loosen them.
Step 3: Remove the Faucet Handle
The method for removing the faucet handle varies depending on the model. Some handles are held in place by a setscrew, while others are secured with a cap or nut. Look for a setscrew on the side of the handle and loosen it with an Allen wrench or screwdriver. If there is no setscrew, try unscrewing the cap on top of the handle. Once the setscrew or cap is removed, carefully pull the handle straight up to remove it.
Step 4: Disassemble the Faucet Body
With the handle removed, you can now access the faucet body. Depending on the design, you may need to remove a decorative escutcheon or cover plate. Use a screwdriver to loosen any screws or clips holding the escutcheon in place. Once the escutcheon is removed, you should see the faucet cartridge or valve assembly. This is where the O-rings are located.
Step 5: Remove the Old O-Ring
Carefully examine the cartridge or valve assembly to identify the location of the O-ring(s). Use a small screwdriver or pick to gently pry the old O-ring out of its groove. Be careful not to scratch or damage the surrounding surfaces. Once the O-ring is removed, clean the groove thoroughly with a clean rag.
Step 6: Install the New O-Ring
Before installing the new O-ring, apply a small amount of plumber’s grease to the O-ring and the groove. This will help the O-ring seat properly and prevent it from drying out. Carefully stretch the new O-ring over the cartridge or valve assembly and into the groove. Make sure the O-ring is seated evenly and is not twisted or pinched.
Step 7: Reassemble the Faucet
With the new O-ring in place, reassemble the faucet in the reverse order of disassembly. Carefully insert the cartridge or valve assembly back into the faucet body. Replace the escutcheon and secure it with screws or clips. Reinstall the faucet handle and tighten the setscrew or cap. Reconnect the water supply lines, making sure the connections are snug but not overtightened.
Step 8: Test for Leaks
Turn the water supply back on slowly and check for leaks around the faucet base, handle, and supply line connections. If you see any leaks, tighten the connections or adjust the O-ring as needed. Once you are satisfied that there are no leaks, turn the faucet on and off to ensure it is functioning properly.
Choosing the Right Replacement O-Rings: Materials and Sizing
Selecting the correct replacement O-rings is crucial for a successful and long-lasting repair. Consider these factors:
- Material: O-rings are typically made of rubber, silicone, or Viton. Rubber O-rings are suitable for general-purpose applications, while silicone and Viton O-rings offer superior resistance to heat, chemicals, and abrasion. For Delta faucets, which often experience varying water temperatures, silicone or Viton O-rings are often the best choice.
- Sizing: O-ring size is determined by its inner diameter (ID) and cross-sectional diameter (CS). The correct size is essential for a proper seal. Refer to your faucet’s parts diagram or measure the old O-ring to determine the correct size. Many hardware stores have O-ring sizing charts to help you find the right match.
Troubleshooting Common O-Ring Replacement Issues
Even with careful attention, you may encounter some challenges during the O-ring replacement process. Here are some common issues and how to address them:
- Difficulty Removing the Old O-Ring: If the old O-ring is stuck, try using a small pick or screwdriver to gently pry it out. Be careful not to scratch the surrounding surfaces.
- Difficulty Installing the New O-Ring: If the new O-ring is too tight, apply a small amount of plumber’s grease to lubricate it. Be careful not to stretch the O-ring excessively, as this can damage it.
- Leaks After Replacement: If the faucet leaks after replacing the O-ring, check the following: Ensure the O-ring is seated properly in its groove. Make sure the connections are tight but not overtightened. Inspect the surrounding surfaces for any damage or corrosion.
Delta Faucet Cartridge Replacement: When O-Rings Aren’t Enough
In some cases, replacing the O-rings may not be sufficient to stop a leak. If the faucet cartridge itself is damaged or worn, it may need to be replaced. The cartridge is the valve mechanism that controls the flow of water. Signs of a failing cartridge include:
- Constant Dripping: Even after replacing the O-rings, the faucet continues to drip.
- Difficulty Controlling Water Temperature: The water temperature is inconsistent or difficult to adjust.
- Reduced Water Flow: The water flow is weak or erratic.
Replacing a faucet cartridge is a slightly more involved process than replacing O-rings, but it is still a manageable DIY project for most homeowners. Replacement cartridges are readily available at most hardware stores. Be sure to purchase the correct cartridge for your specific Delta faucet model.
Maintaining Your Delta Faucet to Extend O-Ring Life
Proper maintenance can significantly extend the life of your Delta faucet and its O-rings. Consider these tips:
- Avoid Harsh Cleaning Products: Use mild soap and water to clean your faucet. Avoid abrasive cleaners or chemicals that can damage the O-rings.
- Lubricate Regularly: Apply a small amount of plumber’s grease to the O-rings every few years to keep them supple and prevent them from drying out.
- Address Leaks Promptly: Don’t ignore small leaks. Address them promptly to prevent further damage to the faucet and surrounding areas.
Ensuring a Leak-Free Faucet for Years to Come
Replacing the O-ring in your Delta base faucet is a simple yet effective way to stop leaks and save water. By following the steps outlined in this guide, you can confidently tackle this DIY project and restore your faucet to its optimal performance. Remember to choose the right replacement O-rings, work carefully, and maintain your faucet properly to ensure a leak-free operation for years to come. If you ever have doubts, consult a professional plumber for assistance. Your efforts will not only save you money but also contribute to water conservation and a more sustainable home.
