The Definitive Guide: Best Way to Clean Inside of Kitchen Cabinets for a Spotless Kitchen
Are you tired of opening your kitchen cabinets to find a collection of crumbs, spills, and mystery substances lurking within? Cleaning the inside of kitchen cabinets is a chore often overlooked, but it’s crucial for maintaining a hygienic and organized kitchen. This comprehensive guide provides the absolute best way to clean inside of kitchen cabinets, offering expert tips and techniques to achieve a spotless, fresh, and inviting storage space. We’ll cover everything from preparation and product selection to detailed cleaning methods and preventative measures, ensuring your cabinets remain pristine for years to come. Let’s transform those neglected spaces into sparkling showcases of organization!
Understanding the Importance of Cleaning Your Kitchen Cabinets
Cleaning the inside of your kitchen cabinets goes far beyond mere aesthetics. It plays a pivotal role in maintaining food safety, preventing pest infestations, and prolonging the lifespan of your cabinetry. Neglecting this task can lead to the buildup of food particles, grease splatters, and other debris, creating a breeding ground for bacteria and attracting unwanted guests like ants, cockroaches, and rodents. Moreover, acidic spills or prolonged exposure to moisture can damage the cabinet’s finish, leading to costly repairs or replacements.
Regular cleaning not only eliminates these hazards but also helps you stay organized. By decluttering and cleaning your cabinets, you can easily identify expired items, consolidate duplicates, and create a more efficient storage system. This, in turn, streamlines your cooking process and makes meal preparation a more enjoyable experience. Think of it as an investment in your health, your home, and your overall well-being.
Essential Tools and Supplies for Cabinet Cleaning
Before diving into the cleaning process, it’s essential to gather the right tools and supplies. Having everything on hand will save you time and effort, ensuring a smooth and efficient cleaning experience. Here’s a comprehensive list of what you’ll need:
- Microfiber cloths: These are gentle on surfaces and highly effective at trapping dust and dirt.
- Sponges: Opt for non-abrasive sponges to avoid scratching the cabinet finish.
- Warm water: The foundation of most cleaning solutions.
- Dish soap: A mild dish soap is perfect for cutting through grease and grime.
- White vinegar: A natural disinfectant and deodorizer.
- Baking soda: An excellent abrasive cleaner for stubborn stains.
- Spray bottle: For easy application of cleaning solutions.
- Vacuum cleaner with attachments: To remove loose debris and crumbs.
- Old toothbrush: For scrubbing tight corners and crevices.
- Rubber gloves: To protect your hands from harsh chemicals and bacteria.
- Cabinet cleaner: Consider a specialized cabinet cleaner for tougher stains (always test in an inconspicuous area first).
- Wood cleaner/polish: To restore shine and protect wooden cabinets after cleaning.
Step-by-Step Guide to Cleaning Inside Kitchen Cabinets
Now that you have all the necessary tools and supplies, let’s get down to the nitty-gritty of cleaning your kitchen cabinets. Follow these step-by-step instructions for a thorough and effective cleaning process:
Step 1: Empty the Cabinets
Remove all items from the cabinets, including dishes, food containers, and appliances. This will give you unobstructed access to all surfaces and allow you to thoroughly clean every nook and cranny. As you empty the cabinets, take the opportunity to declutter. Discard expired food items, broken dishes, and anything else you no longer need or use. This is also a great time to wipe down the items you’re putting back in.
Step 2: Vacuum Loose Debris
Use a vacuum cleaner with a brush attachment to remove loose crumbs, dust, and debris from the inside of the cabinets. Pay close attention to corners and edges where dirt tends to accumulate. A handheld vacuum or a vacuum with a hose attachment works best for this task.
Step 3: Prepare Your Cleaning Solution
For general cleaning, a solution of warm water and a few drops of mild dish soap works wonders. Alternatively, you can create a natural cleaning solution by mixing equal parts white vinegar and water in a spray bottle. For stubborn stains or grease, create a paste of baking soda and water. Always test your cleaning solution in an inconspicuous area of the cabinet before applying it to the entire surface.
Step 4: Wipe Down the Interior Surfaces
Dip a microfiber cloth or sponge into your chosen cleaning solution and wring out the excess liquid. Gently wipe down all interior surfaces of the cabinets, including the walls, shelves, and bottom. For stubborn stains, apply the baking soda paste and let it sit for a few minutes before scrubbing gently with a sponge or old toothbrush. Avoid using excessive water, as it can damage the cabinet’s finish. According to leading cleaning experts, using a circular motion helps lift grime effectively.
Step 5: Rinse and Dry
After wiping down the interior surfaces, rinse them with a clean, damp cloth to remove any soap residue. Then, dry the cabinets thoroughly with a clean, dry microfiber cloth. This will prevent water spots and mildew growth. Ensure all surfaces are completely dry before replacing items in the cabinets.
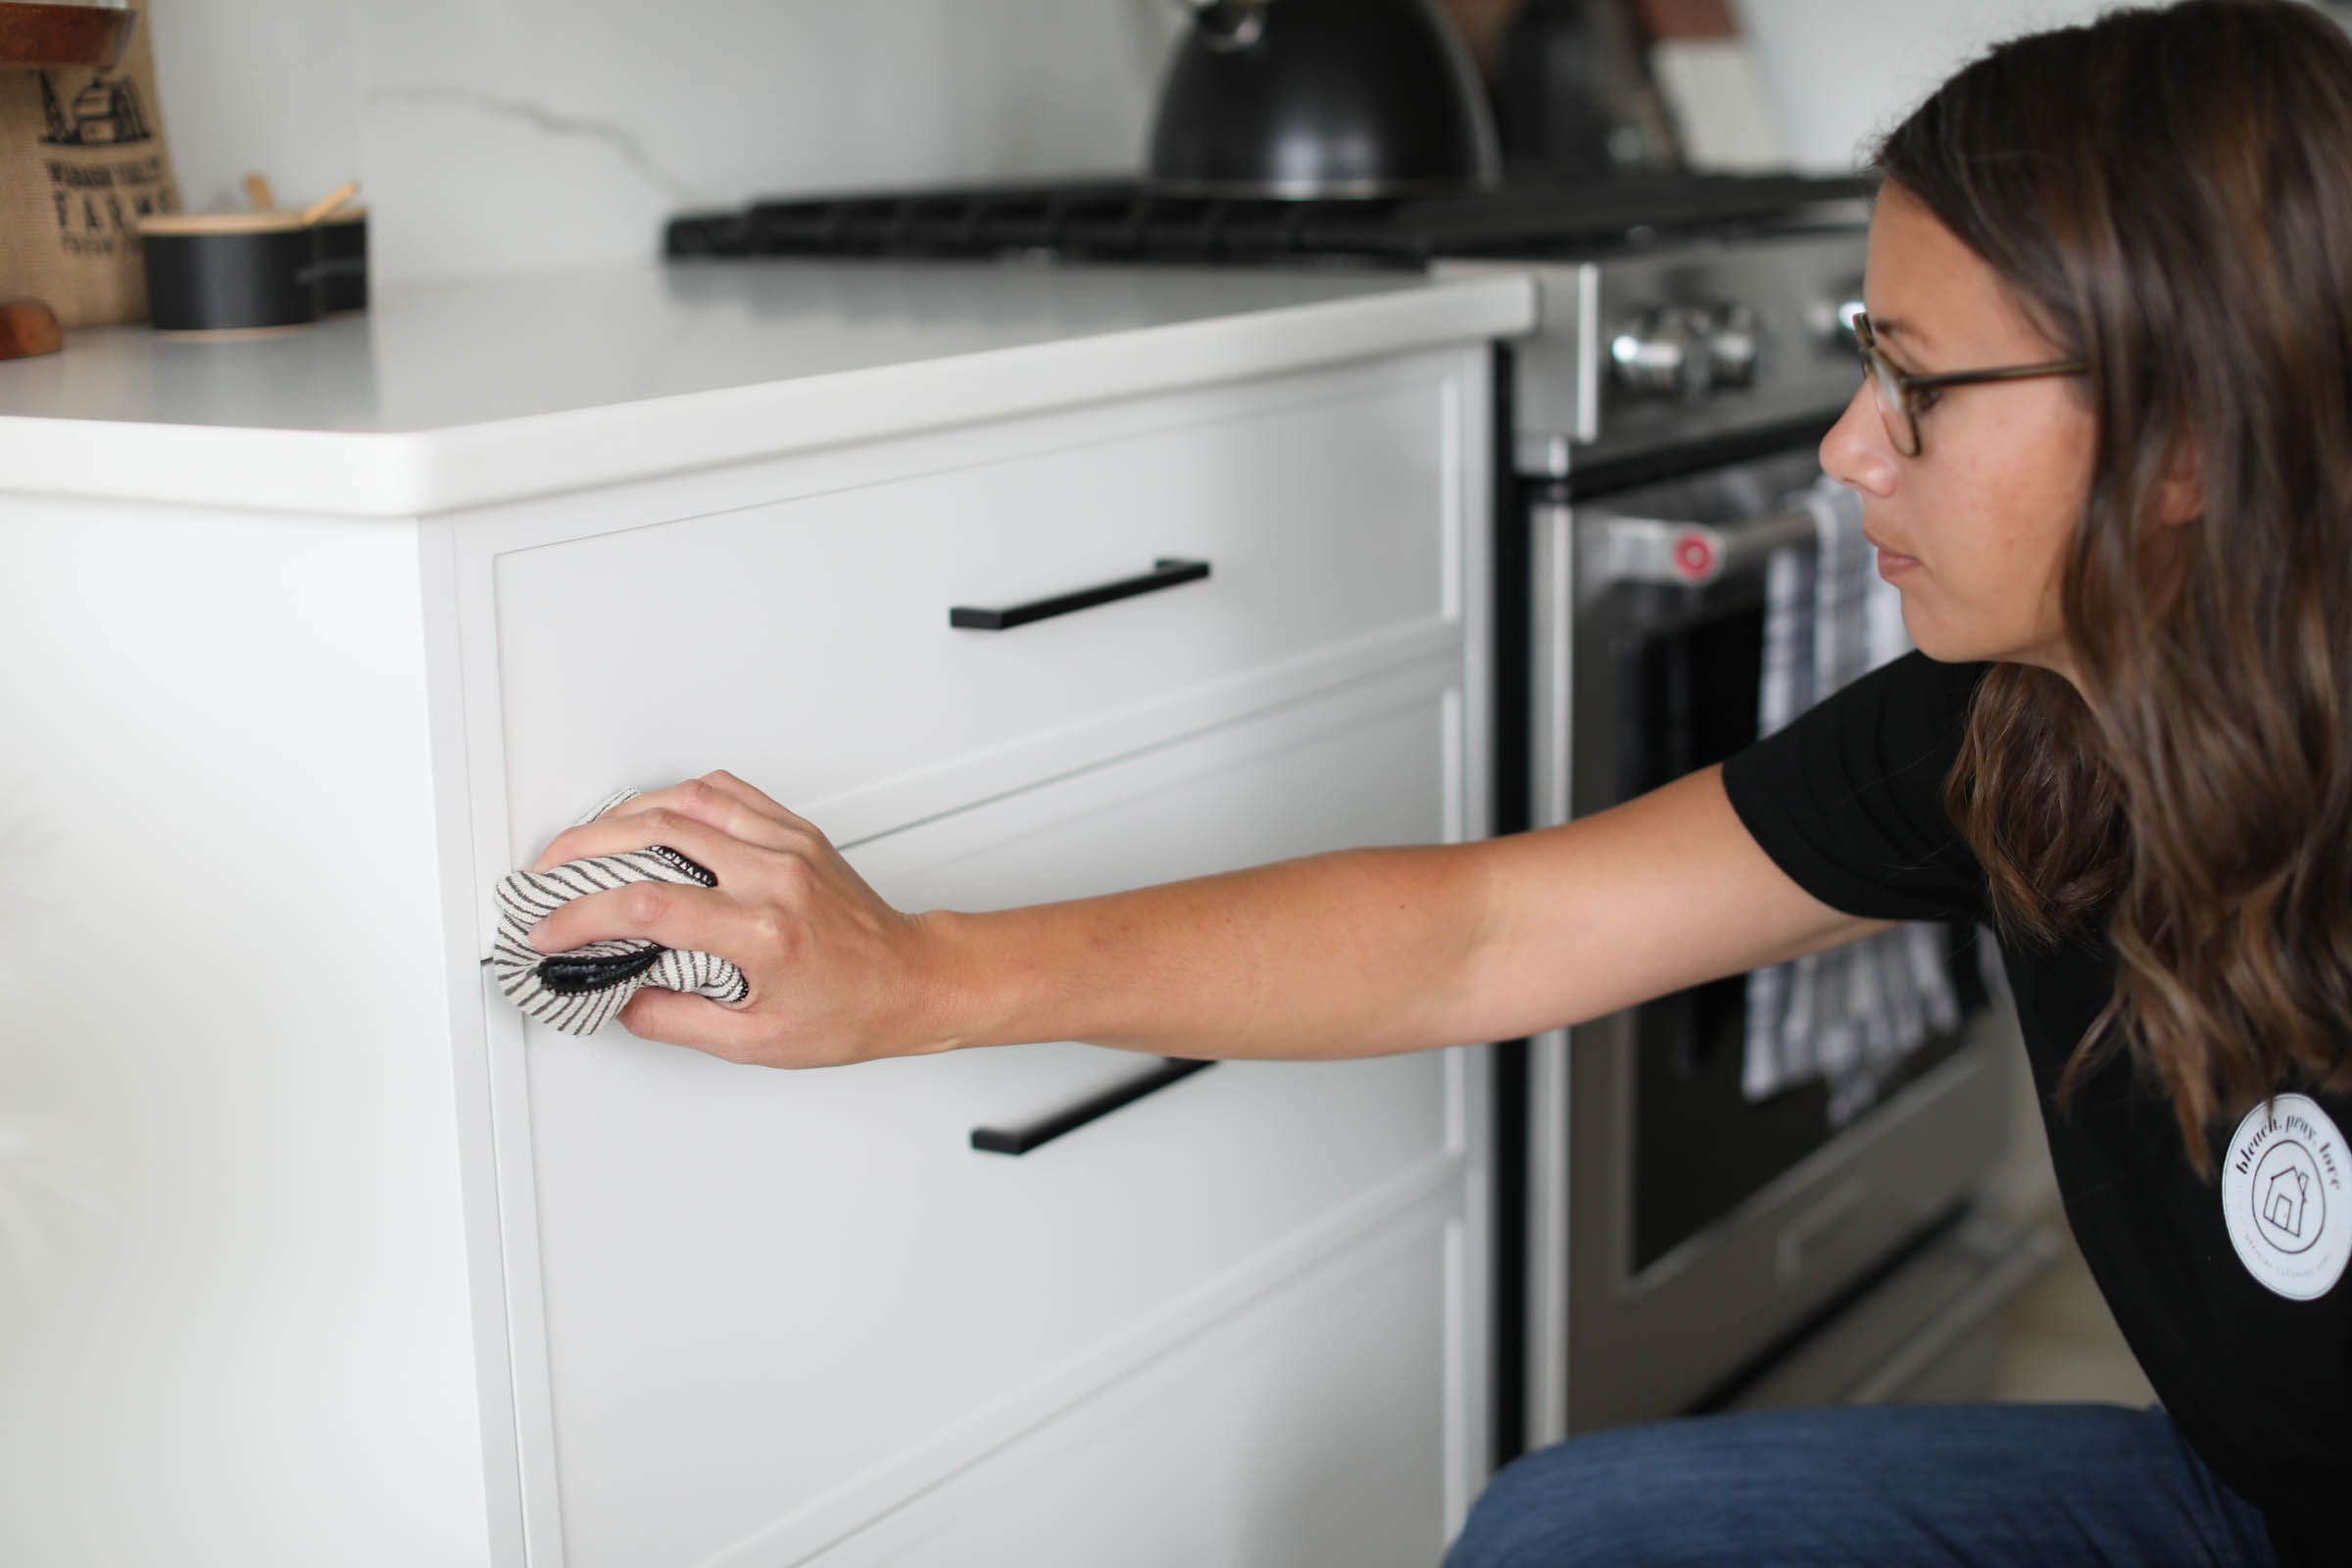
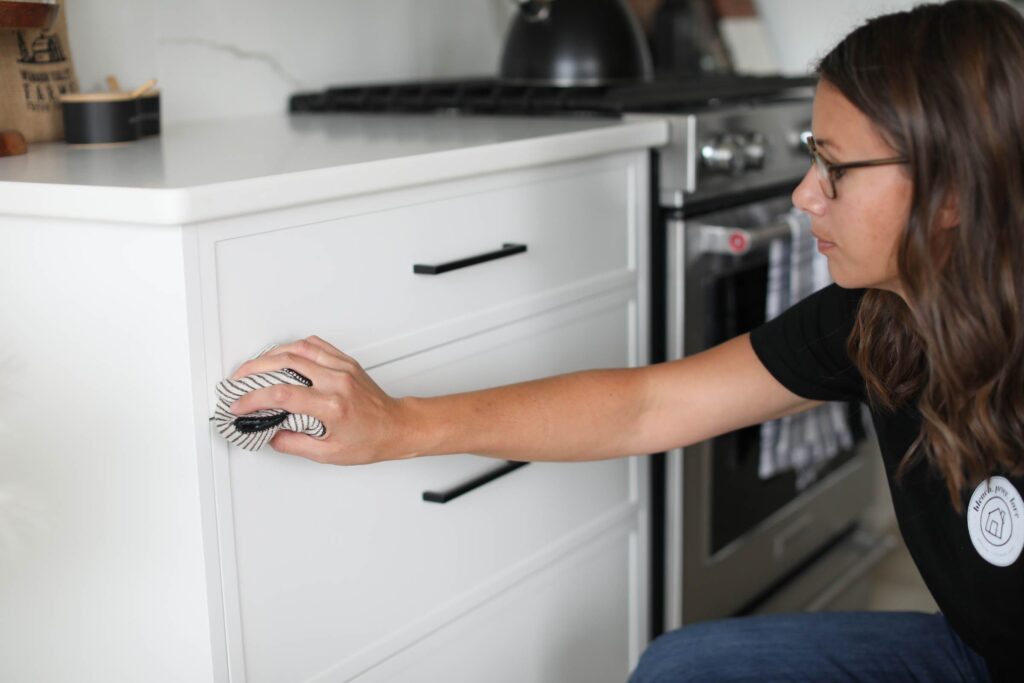
Step 6: Clean Cabinet Doors and Hardware
Don’t forget to clean the exterior of the cabinet doors and hardware. Use the same cleaning solution you used for the interior surfaces, paying attention to fingerprints, smudges, and splatters. For wooden cabinets, consider using a wood cleaner or polish to restore shine and protect the finish. Clean the hardware with a soft cloth and a mild cleaning solution. If the hardware is heavily tarnished, you may need to use a specialized metal cleaner.
Step 7: Organize and Restock
Once the cabinets are clean and dry, it’s time to organize and restock. Before placing items back in the cabinets, take a moment to assess your storage needs and rearrange items for optimal efficiency. Consider using shelf liners to protect the cabinet surfaces and prevent spills from seeping into the wood. Place heavier items on lower shelves and lighter items on higher shelves. Group similar items together for easy access. According to organizational experts, clear containers and labels can significantly improve cabinet organization and prevent future messes.
Addressing Specific Cleaning Challenges
While the general cleaning process outlined above works for most situations, certain cleaning challenges may require specialized techniques. Here are some tips for dealing with common cabinet cleaning issues:
- Grease splatters: For stubborn grease splatters, try using a degreasing cleaner or a solution of warm water and dish soap. Let the solution sit for a few minutes before scrubbing gently with a sponge.
- Mold and mildew: If you find mold or mildew in your cabinets, mix a solution of bleach and water (1 part bleach to 10 parts water) and apply it to the affected areas. Let it sit for a few minutes before rinsing thoroughly and drying. Important: Always wear gloves and eye protection when working with bleach, and ensure proper ventilation.
- Sticky residue: For sticky residue from spills or adhesives, try using a mixture of baking soda and coconut oil. Apply the paste to the affected area and let it sit for a few minutes before scrubbing gently with a sponge.
- Water stains: Water stains can be difficult to remove, but you can try using a mixture of equal parts white vinegar and olive oil. Apply the mixture to the stained area and rub gently with a soft cloth.
Choosing the Right Cleaning Products: A Detailed Look
Selecting the appropriate cleaning products is crucial for effectively cleaning your kitchen cabinets without causing damage. The market offers a plethora of options, each with its own set of advantages and disadvantages. Let’s delve into some of the most popular choices:
- All-Purpose Cleaners: These cleaners are versatile and suitable for general cleaning tasks. However, they may not be strong enough to tackle stubborn stains or grease. Always test all-purpose cleaners in an inconspicuous area before applying them to the entire surface.
- Dish Soap: A mild dish soap is a safe and effective option for cleaning most kitchen cabinets. It’s gentle on surfaces and cuts through grease and grime.
- White Vinegar: White vinegar is a natural disinfectant and deodorizer that can be used to clean a variety of surfaces. It’s particularly effective at removing hard water stains and mildew.
- Baking Soda: Baking soda is a mild abrasive cleaner that can be used to remove stubborn stains and grease. It’s also a natural deodorizer.
- Commercial Cabinet Cleaners: These cleaners are specifically formulated for cleaning kitchen cabinets. They often contain ingredients that protect the cabinet’s finish and prevent damage. However, they can be more expensive than other cleaning options.
When choosing a cleaning product, consider the type of cabinet material, the severity of the stains, and your personal preferences. Always read the product label carefully and follow the manufacturer’s instructions. Furthermore, consider the environmental impact of your chosen cleaner. Opt for eco-friendly and biodegradable options whenever possible to minimize your carbon footprint.
Preventative Measures to Keep Cabinets Clean
The best way to keep your kitchen cabinets clean is to prevent them from getting dirty in the first place. Here are some preventative measures you can take to minimize messes and maintain a pristine storage space:
- Use shelf liners: Shelf liners protect the cabinet surfaces from spills and stains. Choose liners that are easy to clean and replace.
- Wipe up spills immediately: Don’t let spills sit for long periods of time, as they can seep into the cabinet material and cause damage. Wipe up spills as soon as they occur with a damp cloth.
- Store food in airtight containers: This will prevent food particles from spilling and attracting pests.
- Regularly check for expired food items: Discard expired food items to prevent them from spoiling and creating messes.
- Ventilate your kitchen: Proper ventilation can help prevent moisture buildup and mildew growth in your cabinets.
- Clean regularly: Make it a habit to clean your kitchen cabinets on a regular basis, even if they don’t appear to be dirty. A quick wipe-down every week or two can prevent messes from accumulating and make cleaning easier in the long run.
Maintaining Your Cabinets: A Long-Term Strategy
Cleaning your kitchen cabinets is not a one-time task; it’s an ongoing process that requires regular maintenance. By incorporating the cleaning and preventative measures outlined above into your routine, you can keep your cabinets clean, organized, and in good condition for years to come. Consider setting a schedule for cleaning your cabinets, such as once a month or once a quarter. This will help you stay on top of messes and prevent them from becoming overwhelming.
Furthermore, pay attention to the specific needs of your cabinet material. Wooden cabinets may require periodic polishing to maintain their shine and protect the finish. Laminate cabinets may be more resistant to stains, but they can still benefit from regular cleaning. By understanding the unique characteristics of your cabinets, you can tailor your cleaning routine to their specific needs.
Achieving a Spotless Kitchen: The End Result
Mastering the best way to clean inside of kitchen cabinets is an essential component of a clean and healthy home. By following the expert tips and techniques outlined in this guide, you can transform your cabinets from neglected storage spaces into sparkling showcases of organization. Regular cleaning not only enhances the aesthetics of your kitchen but also promotes food safety, prevents pest infestations, and prolongs the lifespan of your cabinetry. So, roll up your sleeves, gather your supplies, and embark on a journey to a cleaner, more organized, and more inviting kitchen. Your efforts will be rewarded with a space that is both functional and beautiful, a true reflection of your commitment to a healthy and happy home. Share your experiences with your favorite cleaning methods in the comments below!
