How to Clean an Old Kitchen (Inside and Out): A Comprehensive Guide
Is your old kitchen looking a little worse for wear? Don’t despair! Cleaning an older kitchen, inside and out, can seem like a daunting task, but with the right approach and techniques, you can restore its sparkle and freshness. This comprehensive guide provides a step-by-step process, expert tips, and proven strategies to tackle even the most stubborn grime and revitalize your kitchen space. We’ll cover everything from deep-cleaning appliances to restoring vintage surfaces, ensuring a thorough and satisfying transformation.
Understanding the Unique Challenges of Cleaning an Old Kitchen
Cleaning an older kitchen presents unique challenges compared to cleaning a modern one. Over the years, grease, grime, and spills can accumulate in hard-to-reach places, and vintage materials may require special care. Furthermore, older appliances may have quirks or limitations that need to be considered during the cleaning process. Understanding these challenges is the first step toward achieving a truly clean and refreshed kitchen.
One major difference is the build-up of years, or even decades, of grease and grime. Modern kitchens are often cleaned more frequently, preventing significant build-up. Older kitchens, especially those that haven’t been deeply cleaned in a while, require more elbow grease and specialized cleaning solutions.
Another consideration is the presence of older materials. For example, vintage linoleum flooring may react negatively to harsh chemicals. Similarly, older wooden cabinets may have delicate finishes that need gentle cleaning methods. Identifying the types of materials in your kitchen is essential for selecting the appropriate cleaning products and techniques.
Essential Supplies and Tools for a Deep Clean
Before you begin, gather all the necessary supplies and tools. Having everything on hand will streamline the cleaning process and prevent unnecessary interruptions. Here’s a comprehensive list:
- Cleaning Solutions: All-purpose cleaner, degreaser, vinegar, baking soda, dish soap, glass cleaner, and specialized cleaners for specific surfaces (e.g., stainless steel cleaner, wood cleaner).
- Scrubbing Tools: Sponges, microfiber cloths, scrub brushes (various sizes), steel wool (for specific tasks, use with caution), and a toothbrush (for tight spaces).
- Protective Gear: Rubber gloves, safety glasses, and a mask (especially when working with strong chemicals).
- Other Essentials: Buckets, spray bottles, paper towels, trash bags, a vacuum cleaner with attachments, a mop, and a ladder or step stool.
A Step-by-Step Guide to Cleaning Your Old Kitchen
Follow these steps for a comprehensive cleaning of your old kitchen, inside and out:
Step 1: Declutter and Prepare the Space
Remove all items from countertops, cabinets, and drawers. This will allow you to thoroughly clean every surface without obstruction. Dispose of any expired food or unwanted items. Place items you want to keep in boxes or containers to keep them organized.
Step 2: Tackle the Appliances (Inside and Out)
Appliances are often the biggest challenge in an old kitchen. Here’s how to clean them effectively:
Cleaning the Oven
Start by removing oven racks and soaking them in hot, soapy water. For the oven interior, use a commercial oven cleaner or a baking soda paste (mix baking soda with water to form a paste, apply to the interior, let it sit overnight, and then scrub clean). Don’t forget to clean the oven door, both inside and out. According to appliance repair experts, regular oven cleaning can significantly extend its lifespan.
Cleaning the Refrigerator
Empty the refrigerator completely and discard any expired food. Remove shelves and drawers and wash them with hot, soapy water. Wipe down the interior of the refrigerator with a solution of baking soda and water. Pay attention to spills and stains. Clean the exterior of the refrigerator with an all-purpose cleaner. A clean refrigerator not only looks better but also helps prevent foodborne illnesses.
Cleaning the Dishwasher
Run an empty dishwasher cycle with a dishwasher cleaner or a cup of vinegar. Clean the dishwasher filter regularly to remove food particles and debris. Wipe down the exterior of the dishwasher with an all-purpose cleaner. A well-maintained dishwasher will clean your dishes more effectively and last longer.
Cleaning the Microwave
Heat a cup of water with a few tablespoons of vinegar in the microwave for several minutes. The steam will loosen food particles and make them easier to wipe away. Clean the interior of the microwave with a sponge or cloth. Wipe down the exterior of the microwave with an all-purpose cleaner.
Step 3: Deep Clean Cabinets and Drawers
Empty all cabinets and drawers and wipe down the interiors with a damp cloth. Clean the exteriors of the cabinets with a mild soap and water solution. For greasy cabinets, use a degreaser. Pay attention to the hardware (knobs and pulls) and clean them with a separate cleaner. Experts in kitchen restoration recommend using specialized wood cleaners for antique cabinets to avoid damaging the finish.
Step 4: Scrub the Countertops and Backsplash
Clean countertops with an appropriate cleaner for the material (e.g., granite cleaner for granite countertops, all-purpose cleaner for laminate countertops). Pay attention to stains and spills. Clean the backsplash with a sponge or cloth and an all-purpose cleaner. For stubborn stains, use a baking soda paste.
Step 5: Mop the Floors
Sweep or vacuum the floors to remove loose dirt and debris. Mop the floors with a floor cleaner appropriate for the type of flooring (e.g., tile cleaner for tile floors, wood cleaner for wood floors). Pay attention to corners and edges. For older linoleum floors, a gentle cleaner is essential to prevent damage.
Step 6: Clean the Sink and Faucet
Clean the sink with a sink cleaner or a baking soda paste. Pay attention to stains and water spots. Clean the faucet with a faucet cleaner or a vinegar solution. Polish the sink and faucet with a microfiber cloth to restore their shine.
Step 7: Address Odors and Freshen the Air
Place an open box of baking soda in the refrigerator to absorb odors. Boil a pot of water with cinnamon sticks or citrus peels to freshen the air. You can also use an air freshener or diffuser.
Choosing the Right Cleaning Products for Vintage Kitchens
Selecting the correct cleaning products is crucial, especially in older kitchens with potentially delicate surfaces. Avoid harsh chemicals that can damage vintage materials. Opt for gentle, pH-neutral cleaners whenever possible. Test any new cleaner on an inconspicuous area first to ensure it doesn’t cause discoloration or damage.
For wooden cabinets, use a wood cleaner specifically designed for antique furniture. These cleaners often contain oils that help restore the wood’s natural luster. For linoleum floors, use a mild detergent and avoid harsh chemicals like bleach, which can cause discoloration. For stainless steel appliances, use a stainless steel cleaner to prevent streaks and smudges.
Restoring and Maintaining Vintage Kitchen Features
Older kitchens often have unique features that add character and charm. Restoring and maintaining these features can enhance the overall appearance of the kitchen.
Restoring Vintage Hardware
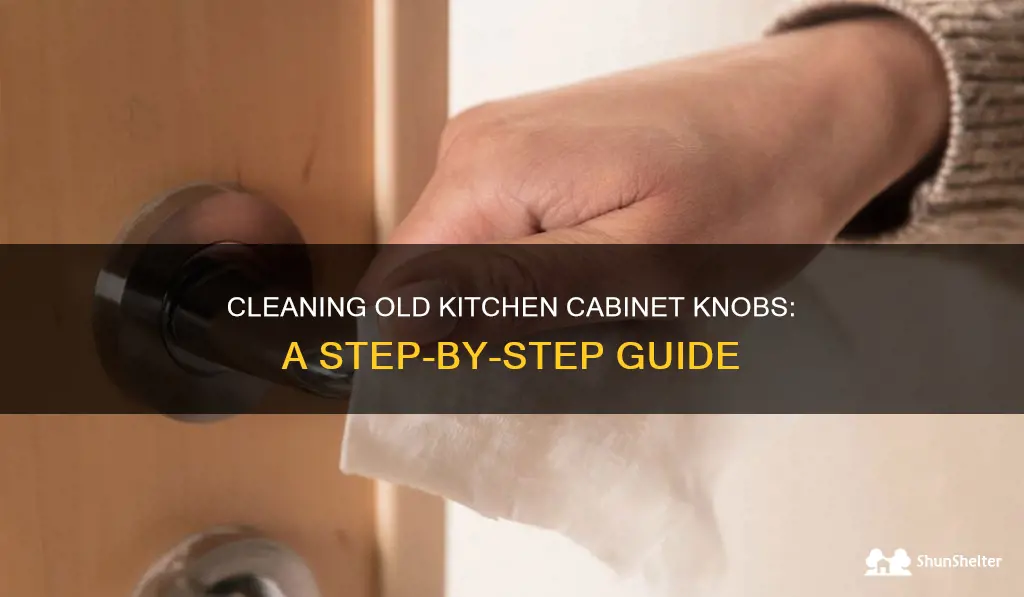
Vintage cabinet knobs and pulls can be restored to their original shine with a little elbow grease. Remove the hardware and soak it in hot, soapy water. Use a scrub brush to remove dirt and grime. Polish the hardware with a metal polish to restore its shine. Reattach the hardware to the cabinets.
Refinishing Wooden Cabinets
If your wooden cabinets are looking worn or damaged, consider refinishing them. This involves sanding down the old finish and applying a new coat of paint or stain. Refinishing cabinets can dramatically improve the appearance of your kitchen.
Repairing Linoleum Floors
Linoleum floors can be repaired with linoleum patches. Clean the area around the damage and apply a linoleum adhesive. Place the linoleum patch over the damage and press it firmly into place. Allow the adhesive to dry completely before walking on the floor.
The Benefits of a Clean and Organized Kitchen
A clean and organized kitchen offers numerous benefits, both practical and emotional. A clean kitchen is a healthier kitchen, reducing the risk of foodborne illnesses and pest infestations. An organized kitchen makes cooking easier and more efficient, saving you time and energy. A clean and organized kitchen can also be a source of pride and satisfaction, creating a more enjoyable living space.
Beyond the practical benefits, a clean kitchen can also have a positive impact on your mental well-being. A clutter-free environment can reduce stress and anxiety, promoting a sense of calm and order. A clean kitchen can also be more inviting and welcoming, making it a more enjoyable place to spend time with family and friends.
Expert Tips for Maintaining a Clean Kitchen
Maintaining a clean kitchen is an ongoing process, but with a few simple habits, you can keep your kitchen looking its best.
- Clean up spills immediately: Wipe up spills as soon as they happen to prevent stains and messes from setting.
- Wash dishes after each meal: Don’t let dishes pile up in the sink. Wash them after each meal to prevent them from becoming a chore.
- Wipe down countertops daily: Wipe down countertops with an all-purpose cleaner daily to remove crumbs and spills.
- Sweep or vacuum floors regularly: Sweep or vacuum floors regularly to remove dirt and debris.
- Deep clean appliances monthly: Deep clean your appliances monthly to prevent grease and grime from building up.
Addressing Common Challenges in Older Kitchens
Older kitchens often present unique cleaning challenges. Here are some tips for addressing common issues:
- Grease buildup: Use a degreaser to remove grease buildup from cabinets, countertops, and appliances.
- Stains: Use a stain remover to remove stains from countertops, floors, and appliances.
- Odors: Use baking soda, vinegar, or air fresheners to eliminate odors.
- Pest infestations: Contact a pest control professional to address pest infestations.
Vintage Kitchens Deserve Special Attention
Cleaning an old kitchen, especially inside too, requires patience, the right tools, and an understanding of the unique challenges involved. By following this comprehensive guide, you can transform your kitchen into a clean, organized, and inviting space. Remember to choose the right cleaning products for your vintage surfaces, restore and maintain unique features, and adopt simple habits to keep your kitchen looking its best. The result will not only be a cleaner kitchen but also a more enjoyable and healthier living environment.
